About Me
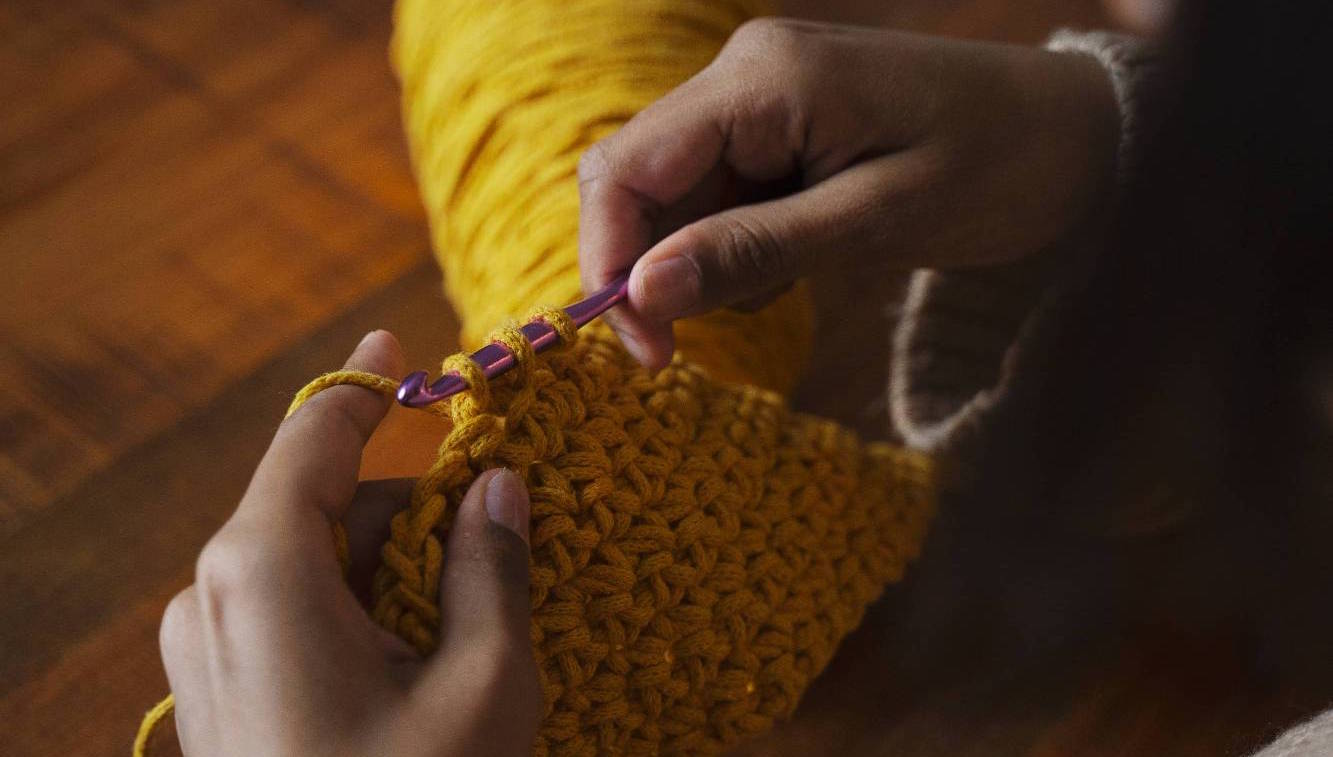
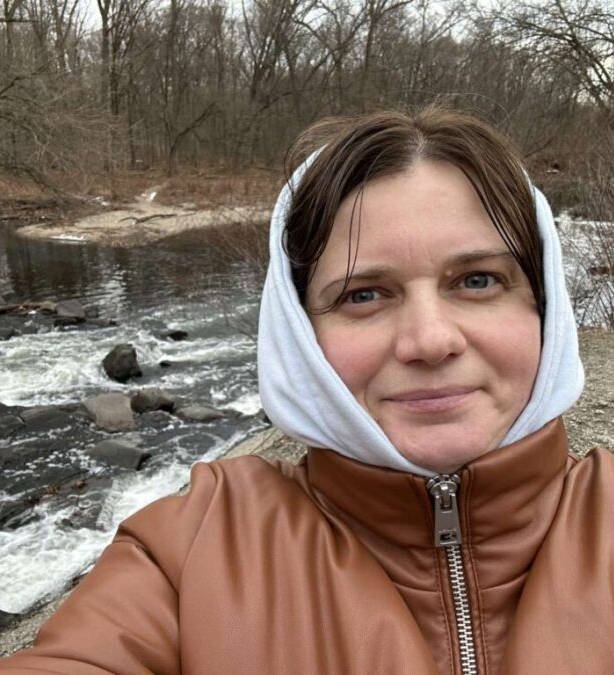
Hi, I’m Olha Bykova— a crochet pattern designer with a lifelong love for the hook. I first picked up a crochet hook as a child, and it was love at first stitch.
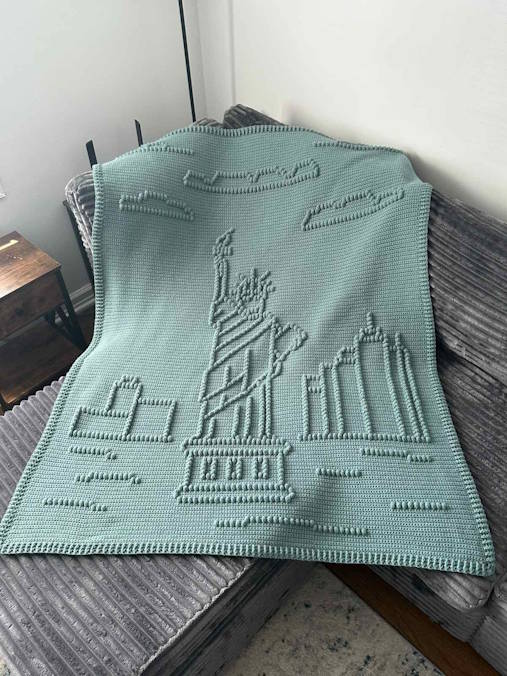
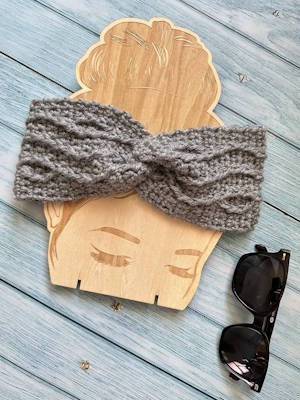
Over the years, that simple fascination grew into a true passion — especially for textured patterns like arans, cables, and other rich, dimensional designs. Today, I specialize in creating patterns that highlight the beauty and depth of texture in crochet.
I believe that even the most intricate design can be made approachable with clear instructions and attention to detail. That’s why I devote great care to writing patterns that are accurate, easy to follow, and enjoyable to make — whether you’re a seasoned crocheter or just starting your journey.
If you love texture as much as I do — welcome! You’re in the right place.
Have a question, want to say hello, or discuss a collaboration?
I’d love to hear from you — reach out anytime at [email protected]
Follow me on
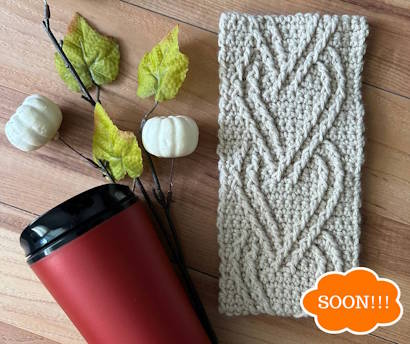
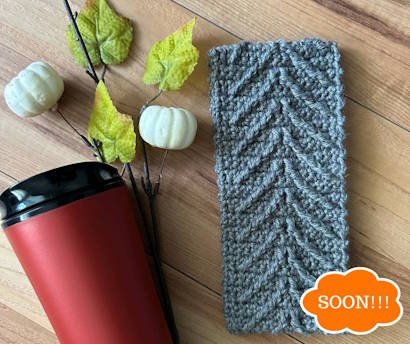
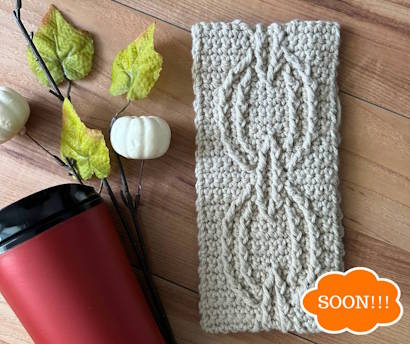
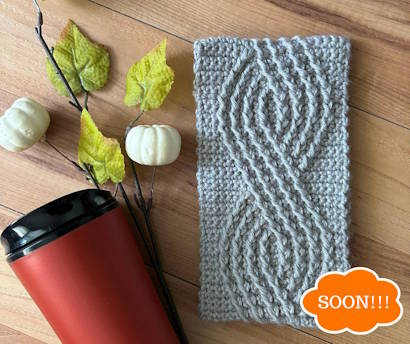
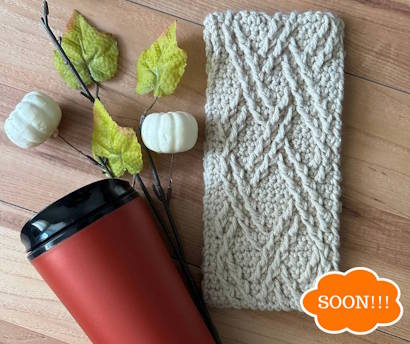
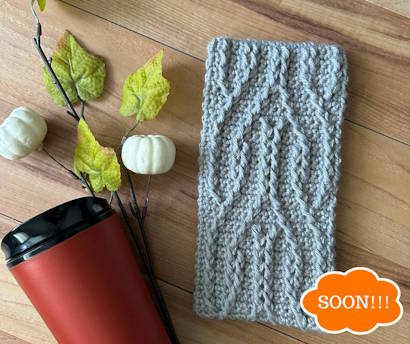
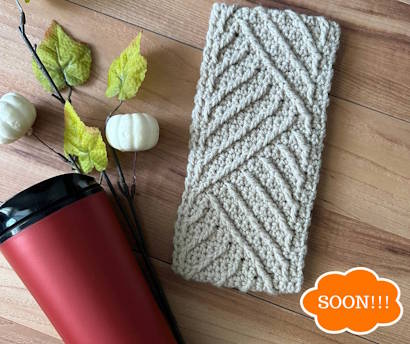
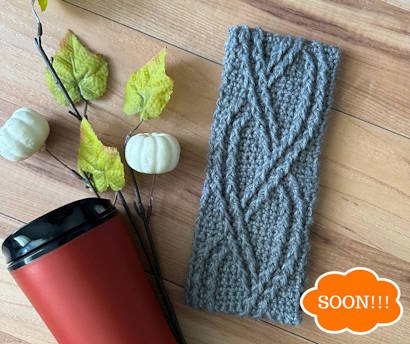
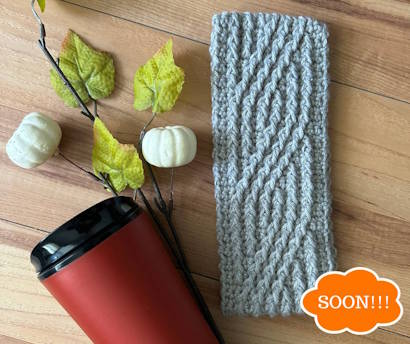
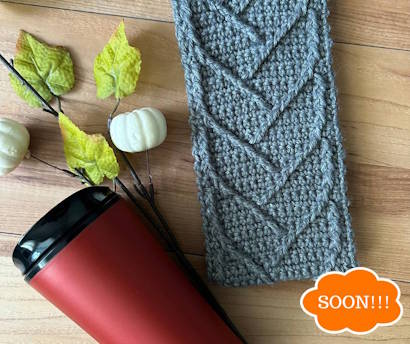
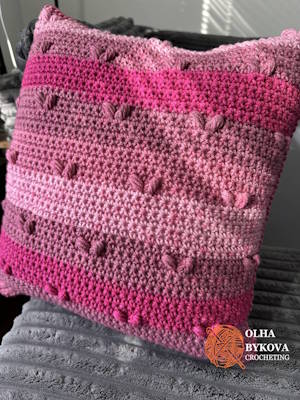
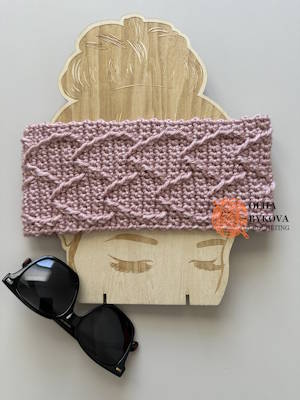
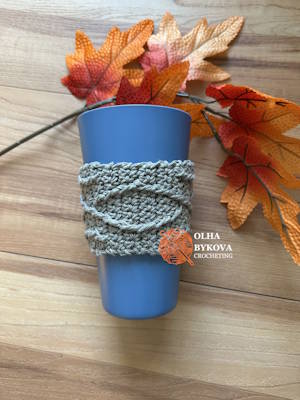
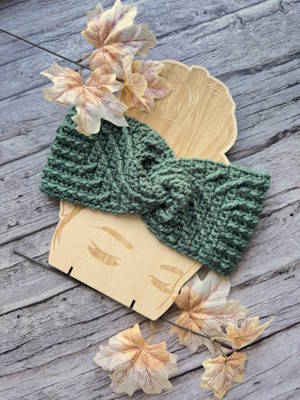
Last Works
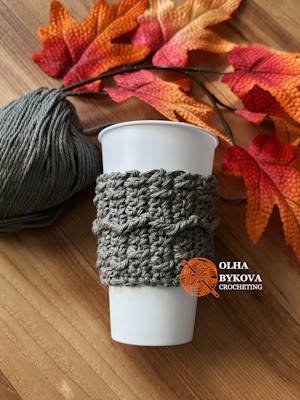

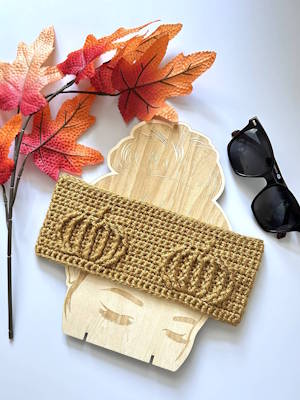
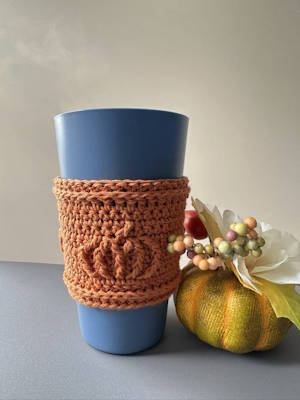
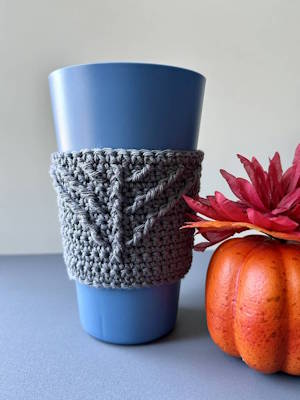
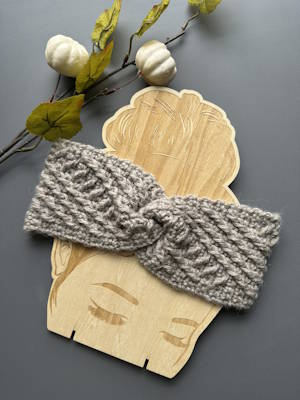
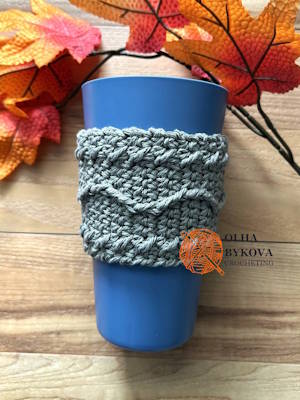
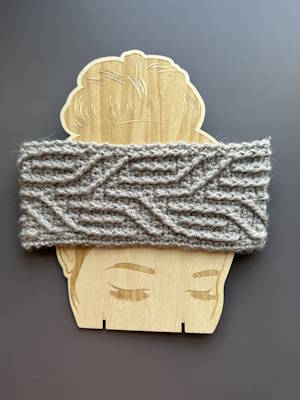
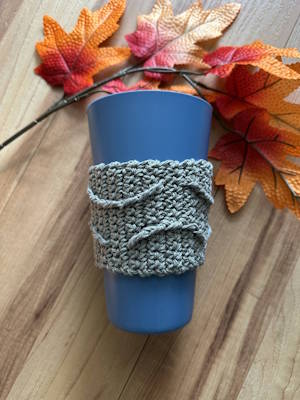
Coming soon…